
Quickstart
This guide assumes Salut ERP Desktop is already installed on Windows and the printer’s Zadig driver is configured.
1. Sign in and choose the store
Section titled “1. Sign in and choose the store”- Open management in 🌐 Web or 🖥️ Desktop and sign in.
- Check the store name at the top before changing anything.
- To sell, open Salut ERP Desktop and enter your PIN when prompted.
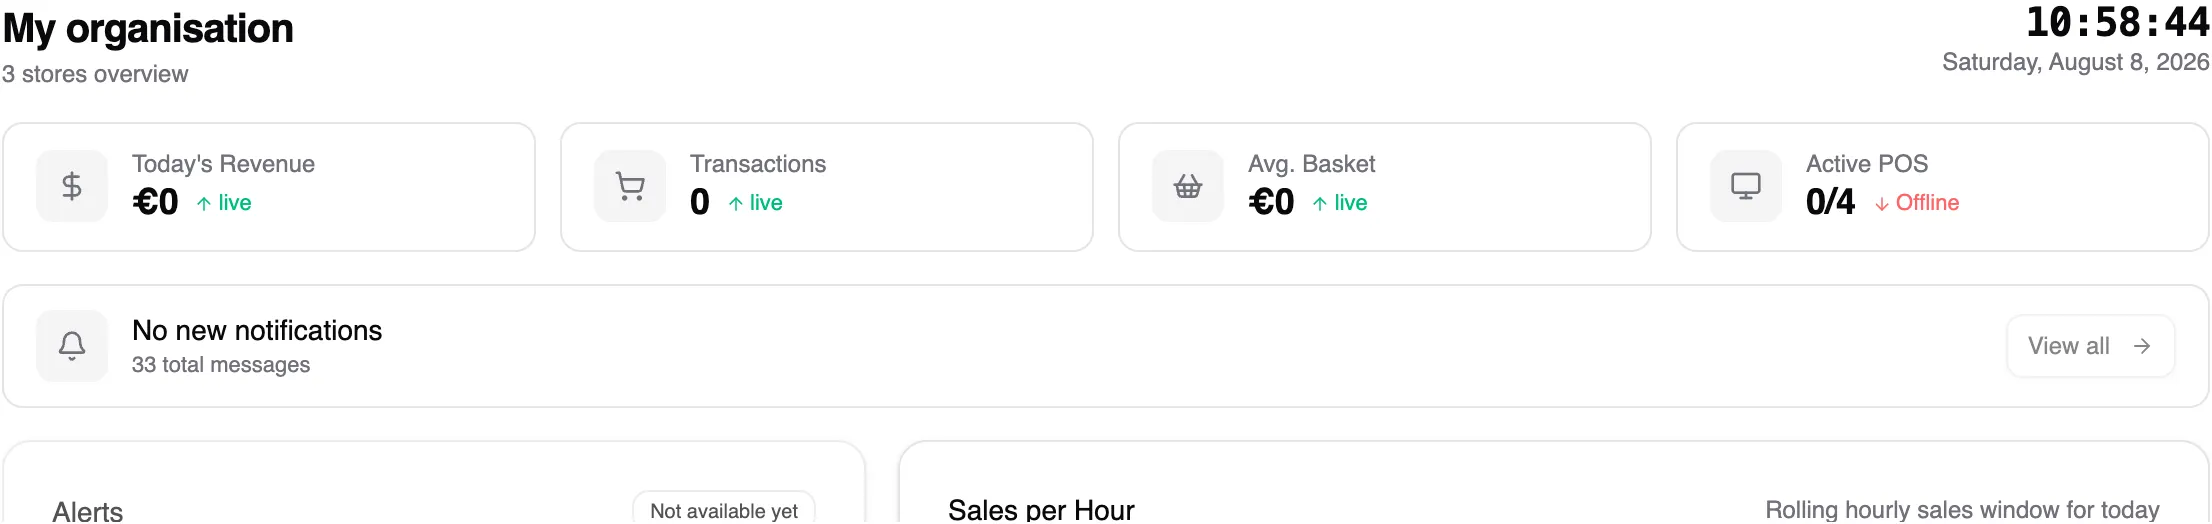
Use the overview to confirm stores and activity before you begin.
2. Prepare a product
Section titled “2. Prepare a product”- In Web, open SKUs and choose Find in library.
- If you find the product, choose Use. If it is missing, choose Create SKU and complete its record.
- Review the new SKU and give it a price. If you are working from a registered POS assigned to a store with an assortment, Salut ERP adds it to that assortment automatically; otherwise, add it yourself.
See Products and SKUs for the library workflow, packs, and weighed products.
3. Check the store and inventory
Section titled “3. Check the store and inventory”Open Stores, enter the store, and confirm its assortment and price list. If you want to start with known stock, record a receipt or revision from Inventory.
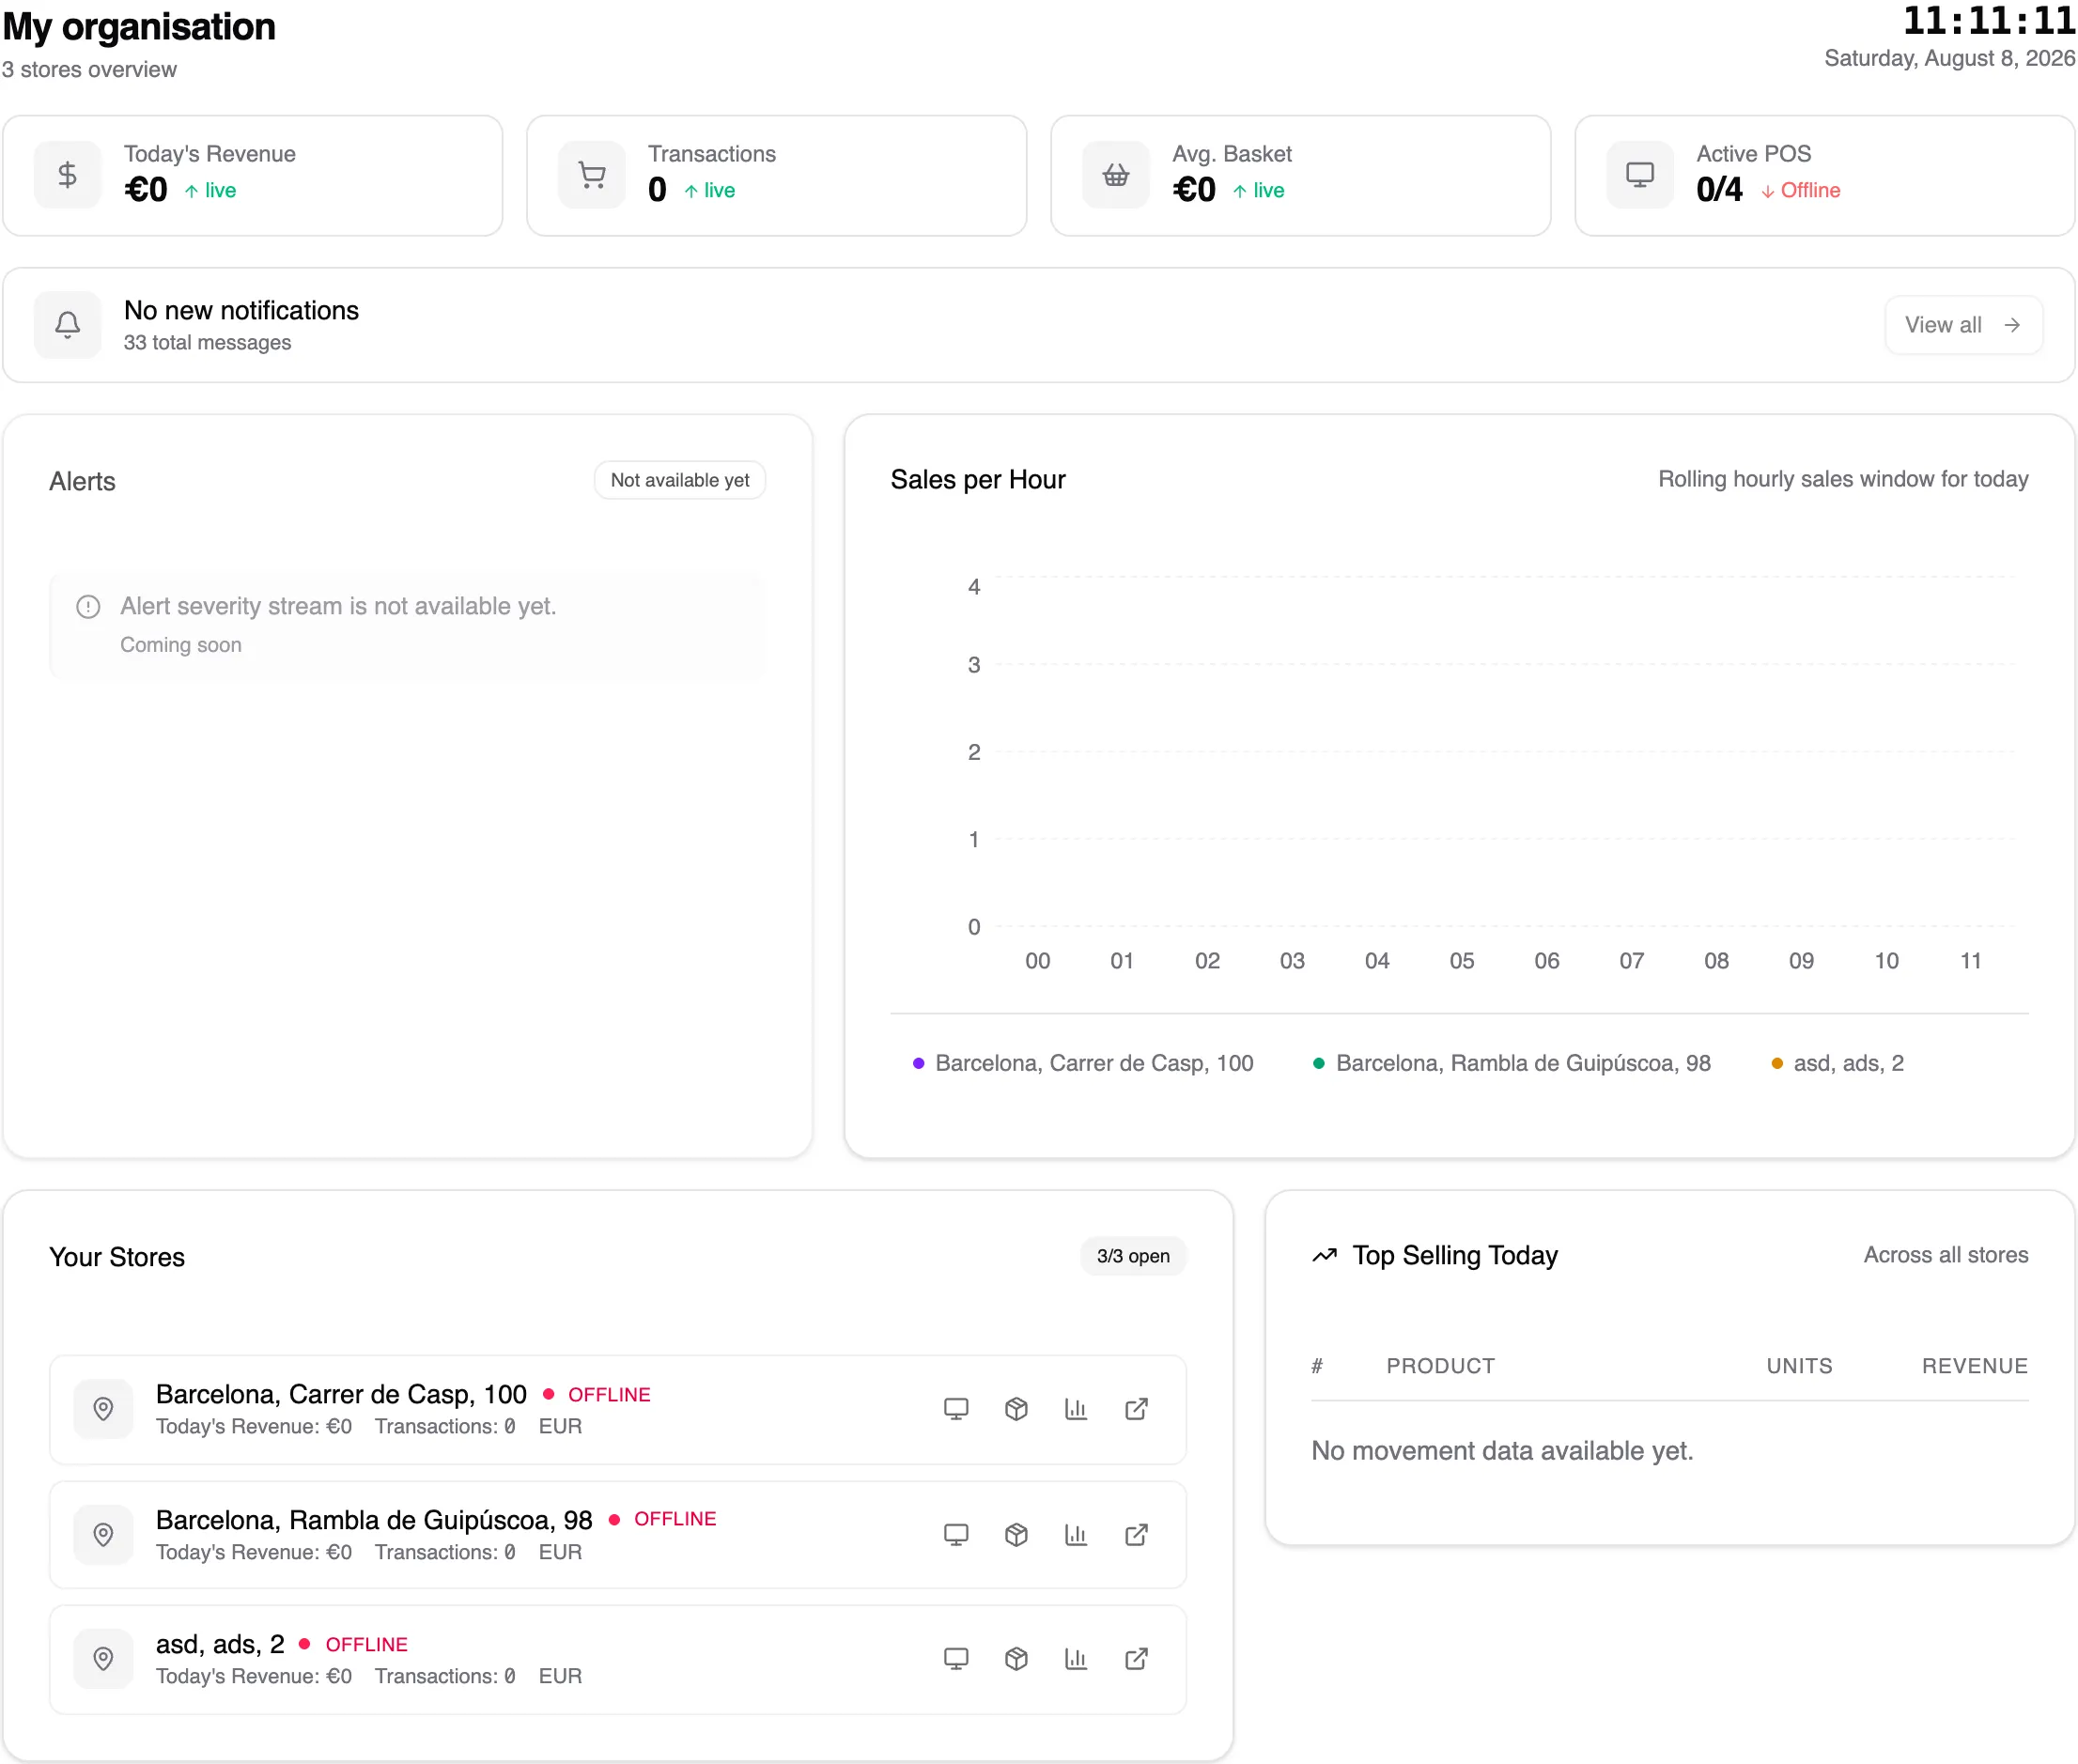
4. Connect devices
Section titled “4. Connect devices”In Desktop, open Settings → Devices. Check the printer and run a test print. Configure the scale, display, or terminal only if you use them. Follow Desktop and devices for each connection.
5. Make a test sale
Section titled “5. Make a test sale”- Open POS in Desktop.
- Scan or find the product and add it to the cart.
- Review the quantity, price, and total, then choose Pay.
- Select the payment method and finish payment.
- Check that the receipt prints or can be reprinted.
6. Confirm the result
Section titled “6. Confirm the result”In Web, enter the store, open Reports → Sales, select today, and export the XLSX. Confirm the test sale appears in the workbook. You are ready to sell with the POS day to day.
If a stage fails, do not repeat payments blindly: follow Troubleshooting.